Security Groups
This tutorial will walk you through Security Groups and IP rules
Create Security Group
Configuring your security groups allows you to determine what traffic can access which port on your instance
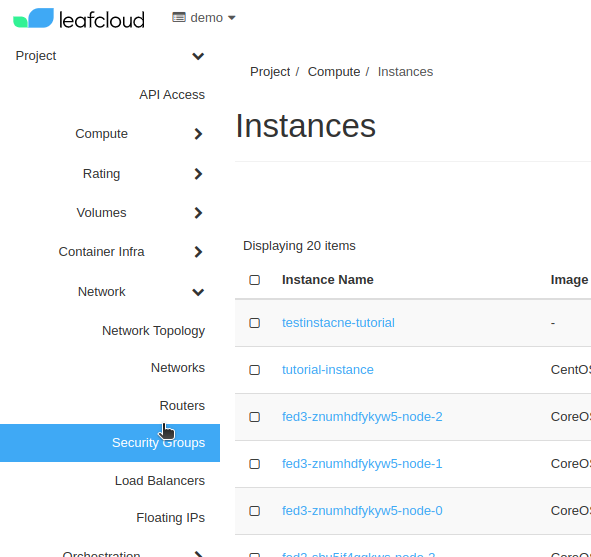
In the web interface go to Project > Network > Security Groups
Now click on Create Security Group on the right of your screen, then give your security group a name and click on Create Security Group in this new frame
Enabling HTTP and HTTPS
In this tutorial we will add rules to your security group that will enable HTTP and HTTPS access to your instance
In the web interface go to Project > Network > Security Groups
The available security groups for this project are now displayed, find the group you just created and click Manage Rules on the right
Click on Add Rule
Select HTTP from the Rule dropdown list, make sure the Remote is set to CIDR and fill in 0.0.0.0/0
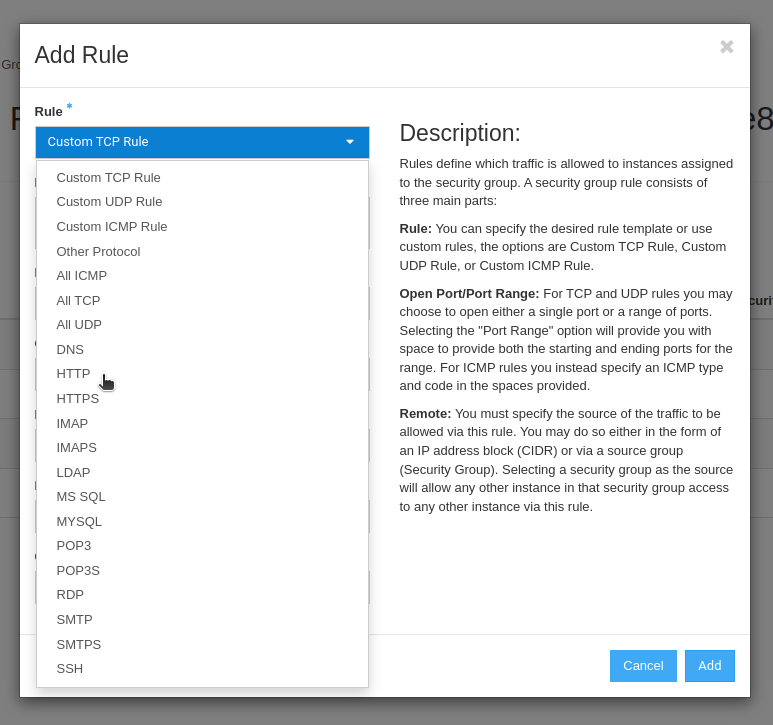
Click Add
You have now added a rule to the Security Group
click Add Rule again
Select HTTPS from the Rule dropdown list, make sure the Remote is set to CIDR and fill in 0.0.0.0/0
click Add
You can now access your instance by HTTP and HTTPS