Teams & Access Control
Teams control who can access your OpenStack projects. After signup, you have a default team where you're the admin. This guide shows you how to invite users and organize access with teams.
How Teams Work
- Users need to be invited to your organization
- Teams get access to specific projects
- Members of a team can work in those projects
Example: Creating a Team for Your Dev Environment
Let's say you want to create a separate development team that only has access to your dev project.
Step 1: Invite Your Team Members
- Go to my.leaf.cloud
- Click "Users" in the sidebar
- Click "Invite User"
- Enter their email and select their role:
- Admin - Full control (billing, teams, all projects)
- Member - Can work in assigned projects only
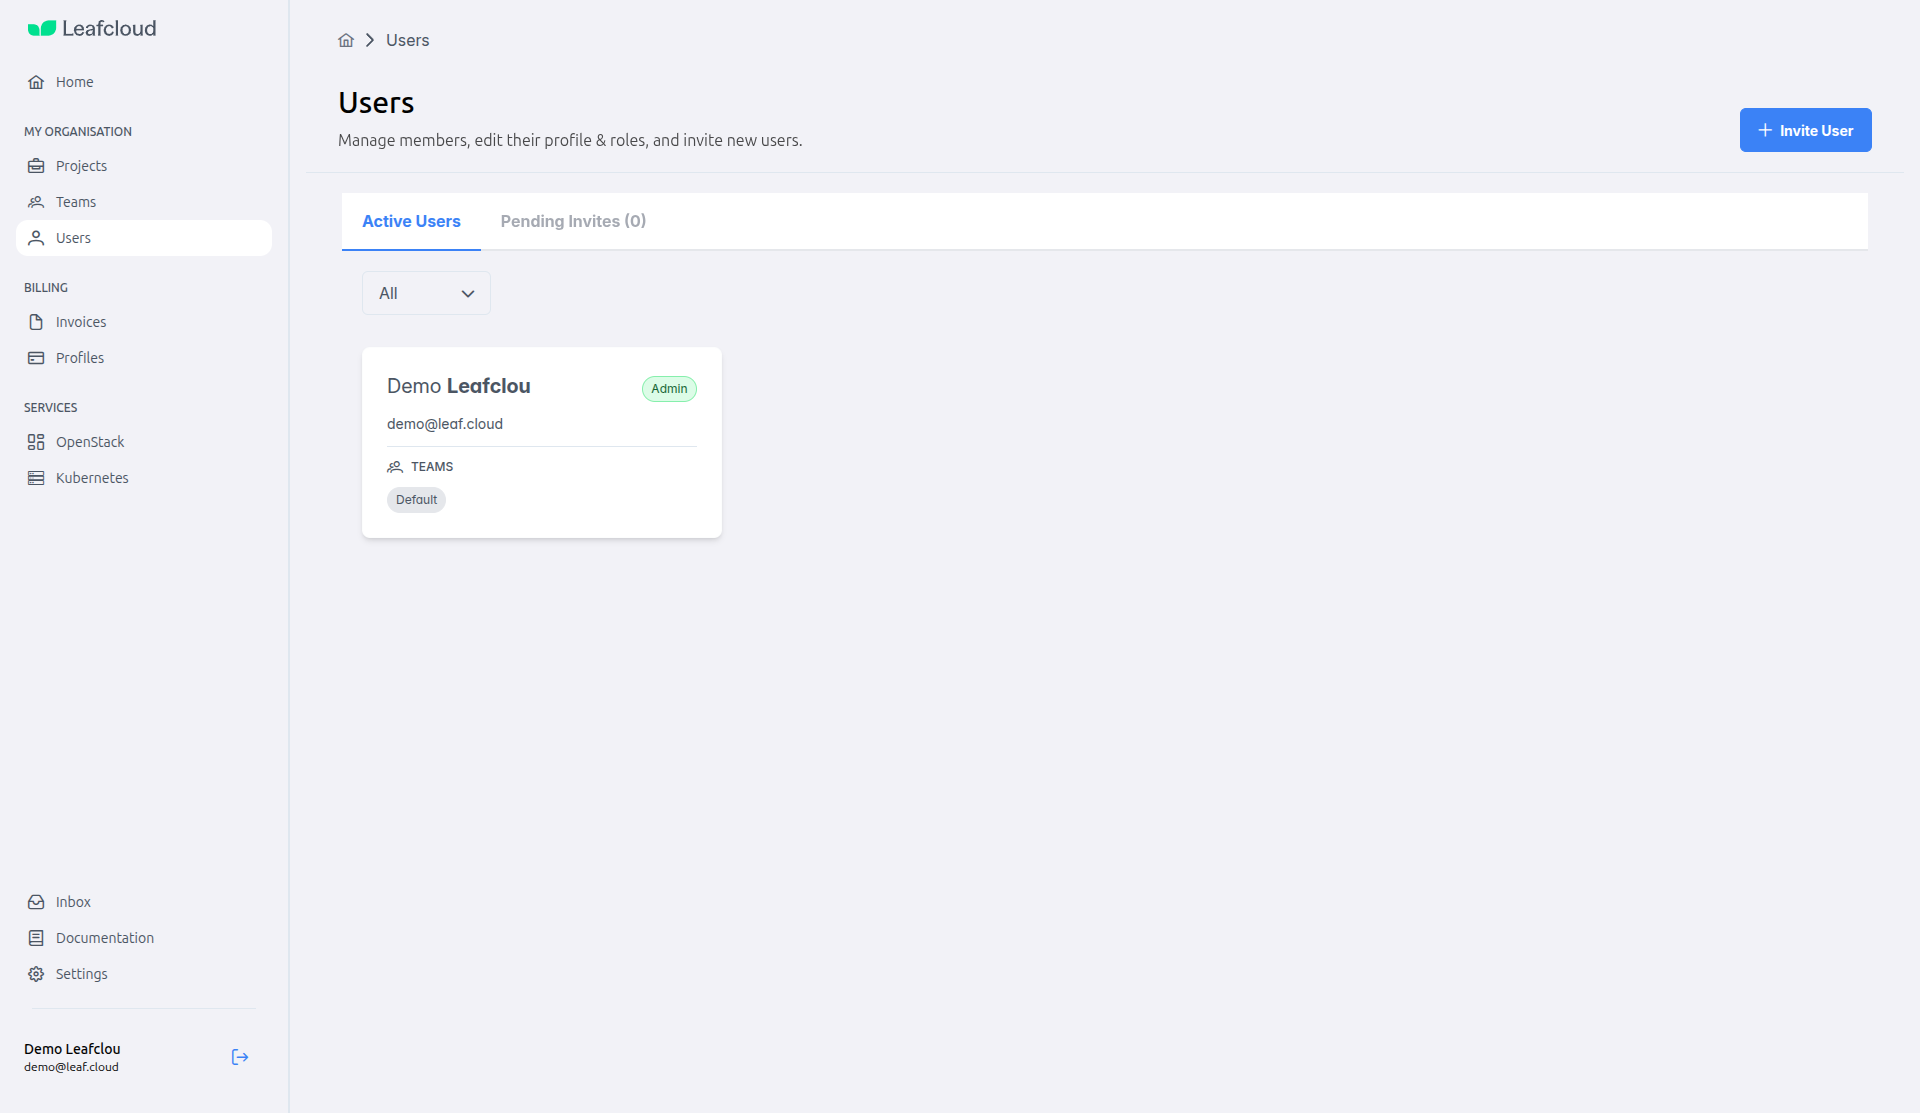
They'll receive an email invitation to join.
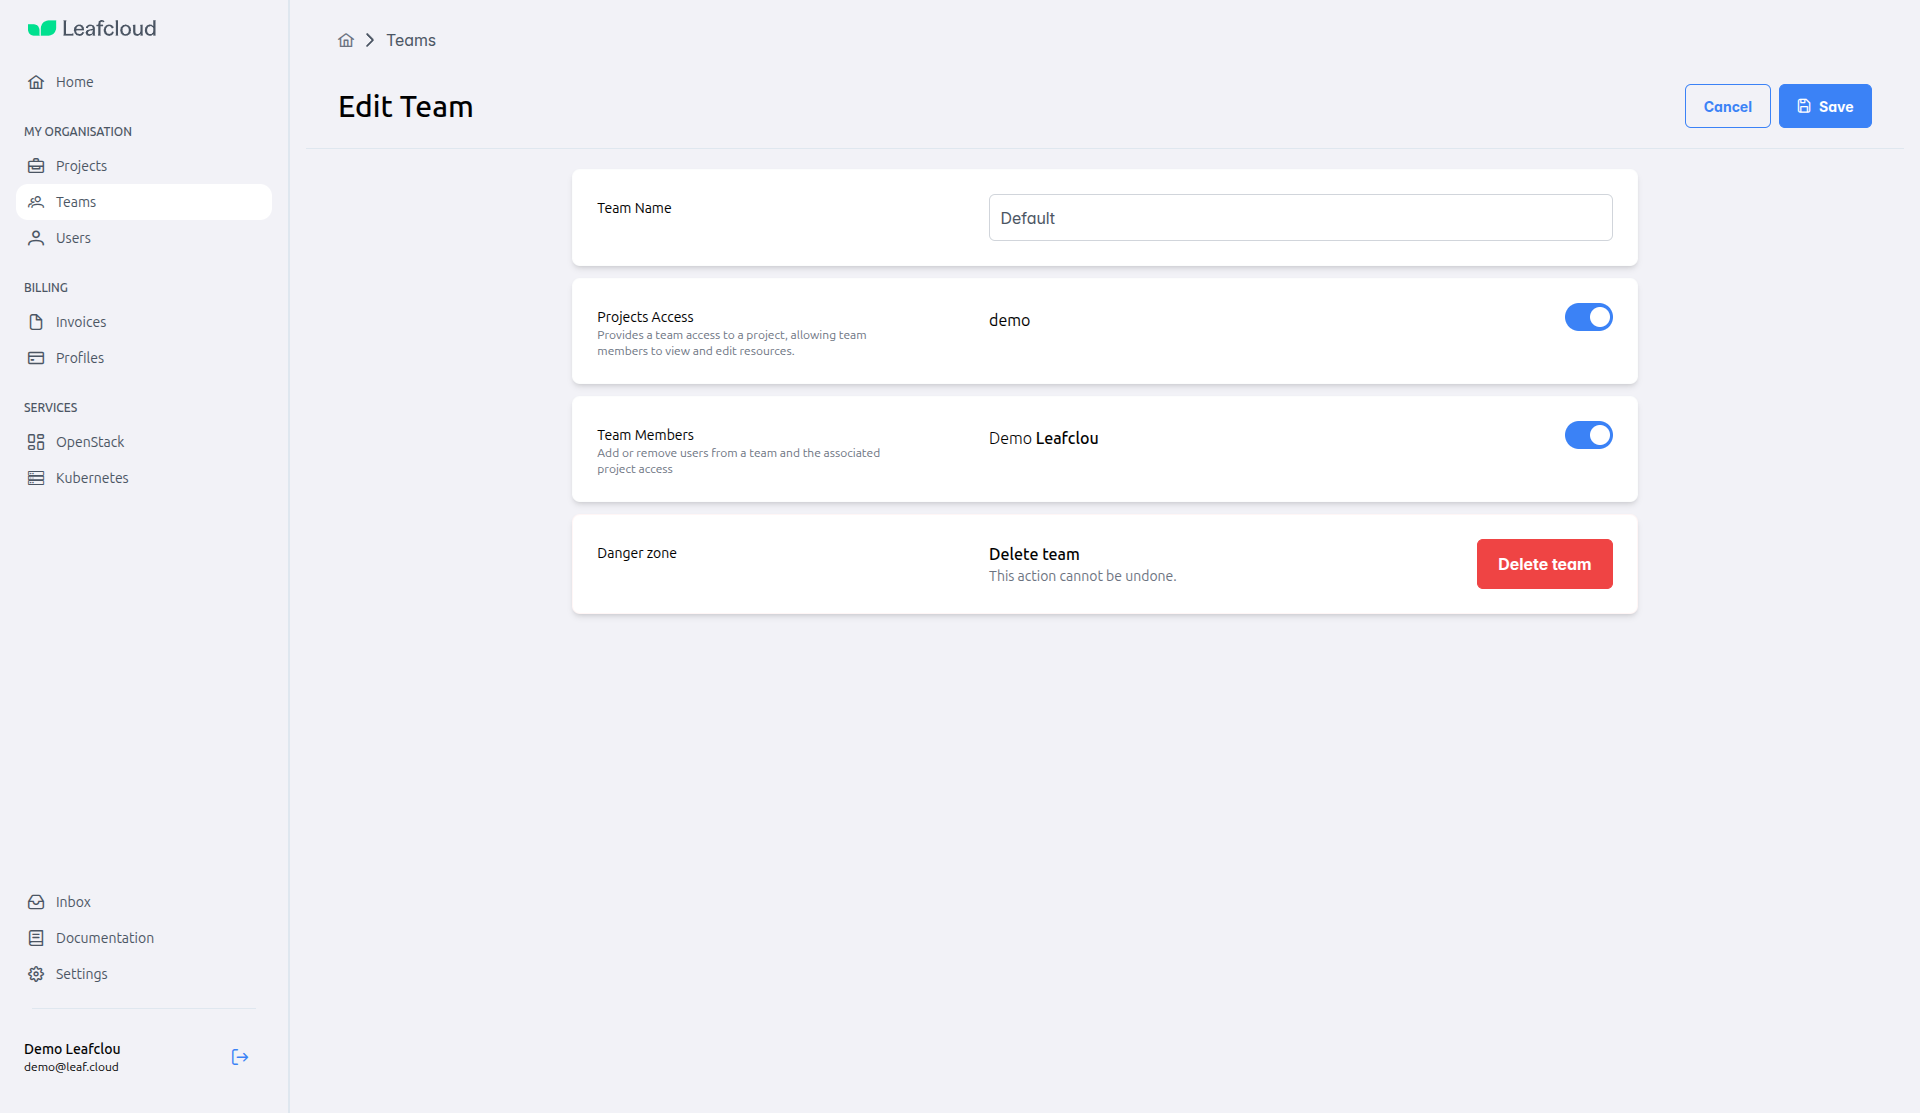
Step 2: Create the Development Team
- Go to "Teams" in the sidebar
- Click "Create Team"
- Give it a name (e.g., "Development Team")
- In Projects Access, toggle ON the projects this team should access
- In Team Members, toggle ON the users who should be in this team
- Click "Save"
That's it! Everyone in the Development Team can now access the development project in OpenStack.
Editing Team Access
To change which projects a team can access:
- Go to "Teams" and click on the team
- Toggle projects ON or OFF in the Projects Access section
- Click "Save"
To add or remove team members:
- Open the team
- Toggle users ON or OFF in the Team Members section
- Click "Save"
User Roles
Admin
Full control - can manage everything including billing and teams
Member
Can create and manage resources in assigned projects only
Next Steps
Now that you know how to manage your team:
- Launch Your First Instance → - Start deploying virtual machines
- Configure Security → - Enable 2FA and manage authentication
- Using OpenStack CLI → - Automate tasks with command-line tools
Need Help?
If you have questions about team management:
- Visit our FAQ - Common questions answered
- Contact Support - Email or call our support team