Creating a new network
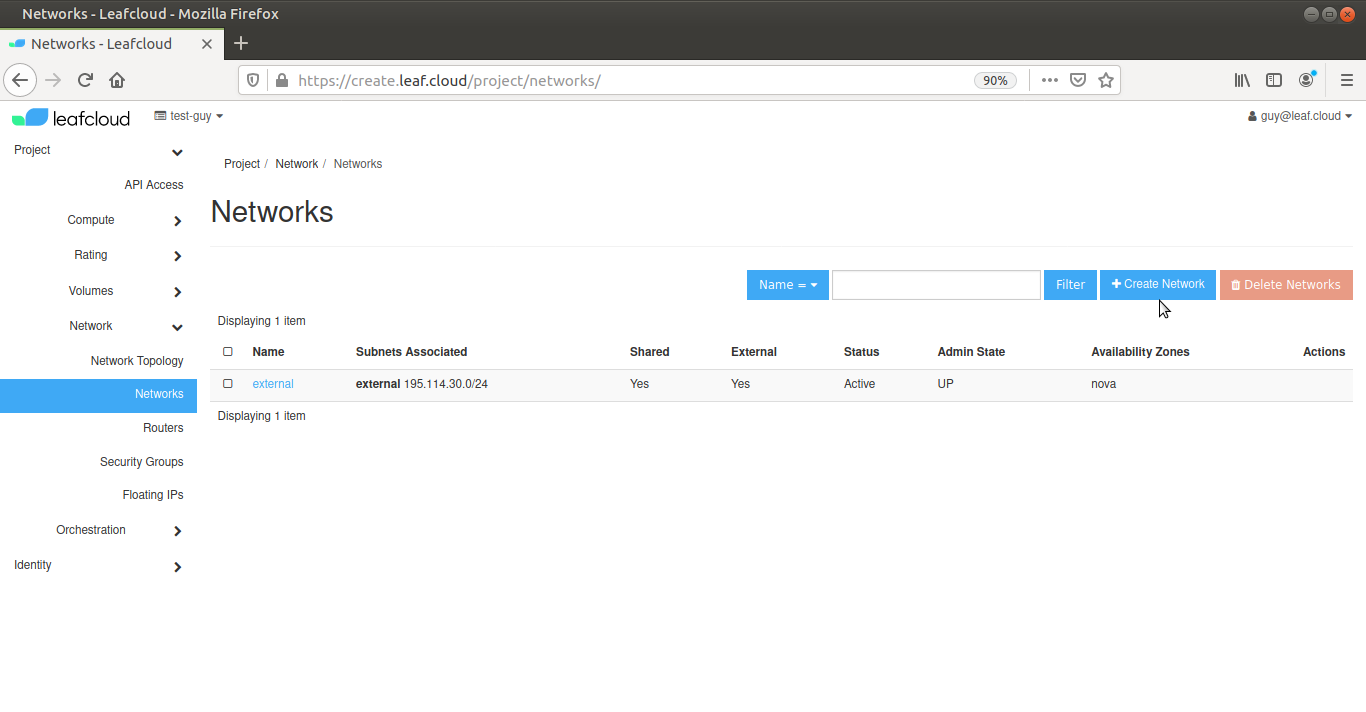
Navigate to Network > Networks
Click on Create Network
Network
Give your new network a name and if necessary, tick the Create Subnet box
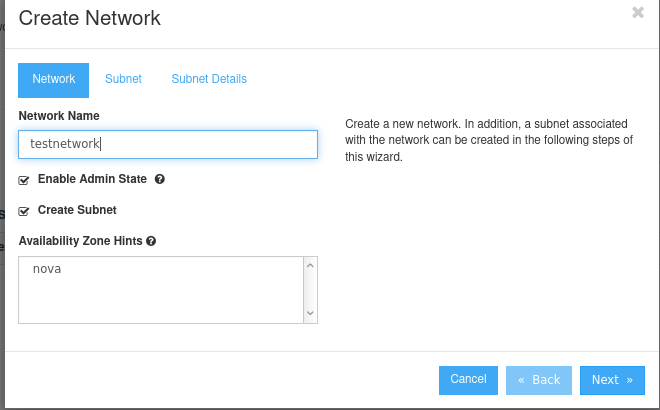
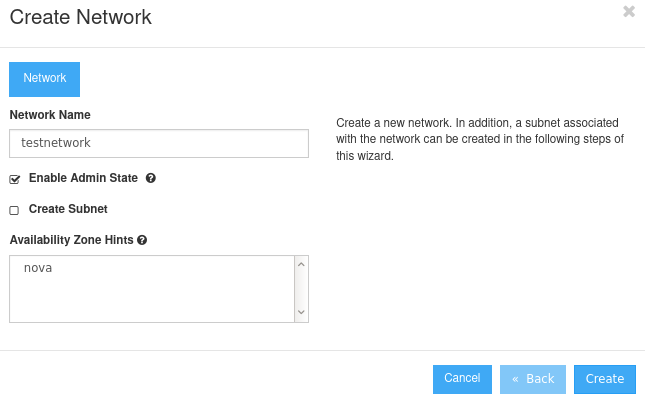
In this tutorial we will also create a subnet, if you do not need a subnet, deselect the Create Subnet box and click Create. Otherwise, click Next
Subnet
Give your subnet a name and fill in the network address in the Network Address box, using the CIDR format (e.g., 192.168.0.0/24,2001:DB8::/48)
Choose an IP version and gateway IP
Leaving the Gateway IP box blank will use the default value. If you don't want to use a gateway, check the Disable Gateway box
Click Next
Subnet Details
Here you can add additional attributes to the subnet if required
Add IP addresses to the Allocation Pools in the following way: [start_IP_address],[end_IP_address] (e.g., 192.168.1.100,192.168.1.120)
Add DNS name servers for your subnet in the DNS Name Servers box
Add additional routes to the host in the Host Routes box. Add entries as follows: [destination_cidr],[nexthop] (e.g., 192.168.200.0/24,10.56.1.254)
Note that you can only add one entry per line
Click on Create, you have now created your new network