Using OpenStack CLI
This tutorial explains how work on a project using the Openstack CLI tools
Installing the Openstack CLI
To get started, install the Openstack CLI by entering the following command:
sudo apt update -y
sudo apt install -y python3-pip python3-dev -y
sudo apt install virtualenv -y
virtualenv -p python3 openstack_venv
source openstack_venv/bin/activate
pip install --upgrade pip
pip install python-openstackclient
Install the configuration file
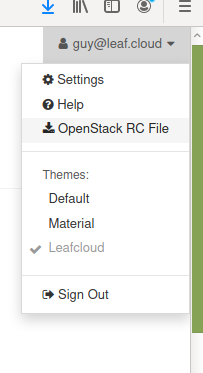
Log in to your Leafcloud account, click on your user name and download the OpenStack RC File
Copy, then paste the contents of the file into a new text document i.e. ~/leafcloudopenrc.sh
Now, run the following to use the configuration file:
Enter your password, you have now gained access to the Openstack CLI
Making a new server using CLI
To create a server using the Openstack CLI, start by creating a new key pair
For example:To make sure the key has been created successfully, look it up in the key pair list like this:
Next, list the possible images and flavors by entering the following:
To create your new server now use:
server create clitest --image [image name] --flavor [instance type] --key-name [keyname] --network public
You have now created a server using the Openstack CLI