Creating a Kubernetes cluster
This tutorial will guide you through the process of creating a new Kubernetes cluster, using the OpenStack CLI. Container clusters are deployed and managed by the OpenStack Magnum project. You can use these clusters to deploy reproducible high-availability services and infrastructures
To get started, you'll need to have the OpenStack CLI set up: You can find a tutorial on how to do that in the Getting Started section
Additionally, you'll need the Kubectl. This allows you to deploy your applications as a cluster. Make sure it's the same version as used in the cluster you are deploying:
Configure the OpenStack CLI
Inside your virtual enviroment install the magnum client:
Then check if you are able to reach the server list using OpenStack CLI:
If you get an authentication error, run: again and make sure your password is correctChoose a template
You can find a list of the various templates by entering the following:
Choose the one that best fits your needs. In this tutorial we'll be using:
k8s-ha-v1.21.2-template-v2.0-rc3
The template that we're going to use has support for: - ingress load balancing based on octavia high availability load balancers. - autoscaling using the kubernetes openstack autoscaler driver - encrypted cinder volumes for both hosts and containers i.e. persistent volume claims
We support our pre-configured templates, if you want to use custom templates or custom labels, you can, but it might not work and we're unable to support it.
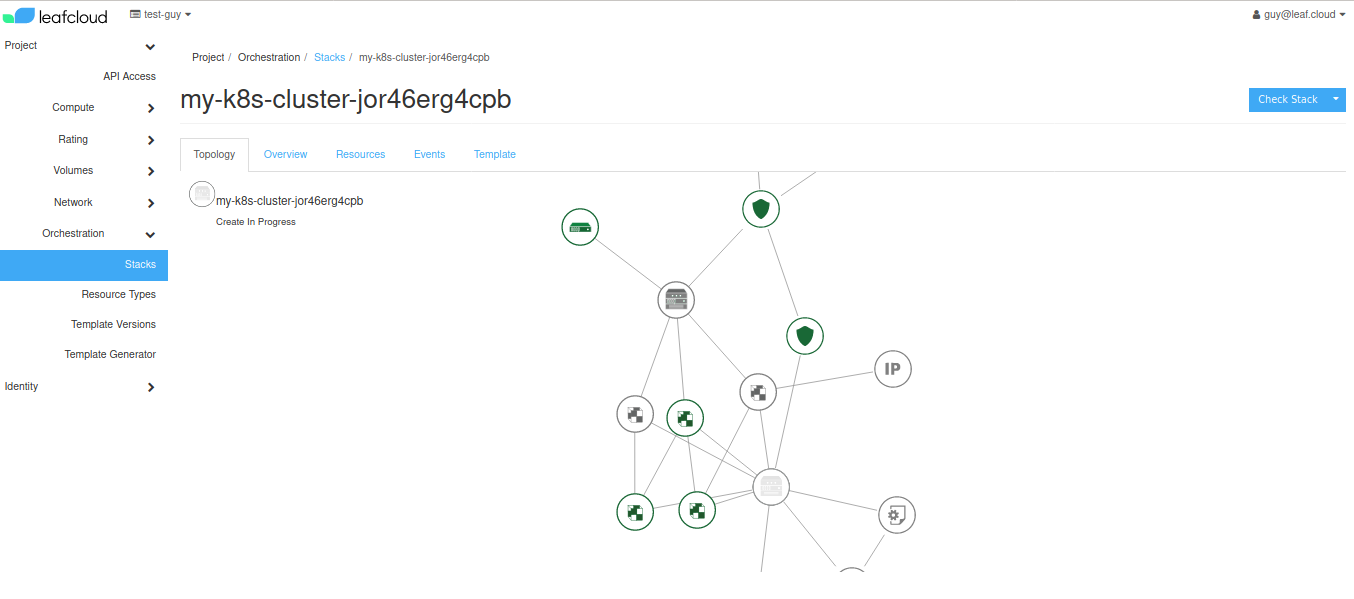
Create a Cluster
Now that we have chosen a template we can create a new cluster, with --keypair we select the keypair that will be added to the hosts, so you can access the hosts root over SSH (default user is 'core'). The keypair we're adding is the Openstack keypair name.
openstack coe cluster create my-k8s-cluster --cluster-template k8s-ha-v1.21.2-template-v2.0-rc3 --keypair <keypair>
This process may take a few minutes. To check up on the installation enter the following:
When the status changes from CREATE_IN_PROGRESS to CREATE_COMPLETE the installation is complete. Next, you can retrieve the config:
This will download a file called 'config' to your home directory.
The config is now usable by kubectl and you should be able to reach your cluster by entering:
Finally, we can configure the storage class to enable usage of persistent volume claims. First, create the storageclass.yaml file:
kind: StorageClass
apiVersion: storage.k8s.io/v1
metadata:
 name: cinder-csi
 annotations:
  storageclass.kubernetes.io/is-default-class: "true"
provisioner: cinder.csi.openstack.org
Then apply it:
You have now created a kubernetes cluster using the CLI.
Please note that only the creator of a cluster can delete it by entering the following:
If you are no longer able to access the required account to delete a cluster, contact leafcloud for support.